

I have always LOVED organizers! Whenever I am at a thrift store, garage sale, or retail outlet, I always quickly head for the organizers! Whether it is paper organization, craft organization, or cleaning supply organization, I WANT ALL OF IT!
My mom, sisters, and I recently became interested in Happy Planning. We have been having so much fun planning and decorating our new Happy Planners. Not only does Happy Planner put out adorable planners, but they also share AMAZING sticker books! The problem with these stickers though is that you cannot only have one pack!
I recently found an amazing deal on Happy Planner stickers! I found each pack for only $4! I picked up several packs for my myself, my mom, and my sisters! Once I brought the stickers home, I realized that I needed to find a solution for storing them. I immediately thought of a Dollar Tree DIY project that I have wanted to tackle for awhile!


For this project, you will need zip ties, clear index tabs, and cooling racks. I think that one pack of zip ties and clear index tabs would be sufficient. When it comes to the amount of cooling racks, that is up to you. The cooling racks come in packs of two so I bought six, just to make sure that I had enough. Everything you will need for this project can be found at Dollar Tree!
To create your sticker organizer, you are going to begin attaching the cooling racks to each other using the zip ties. I chose to lay one cooling rack horizontally in front of me, then I attach a cooling rack to the back and to the sides. Be creative with this process! Your organizer doesn’t need to look exactly like mine! For added strength, I chose to use two zip ties on each connecting piece.

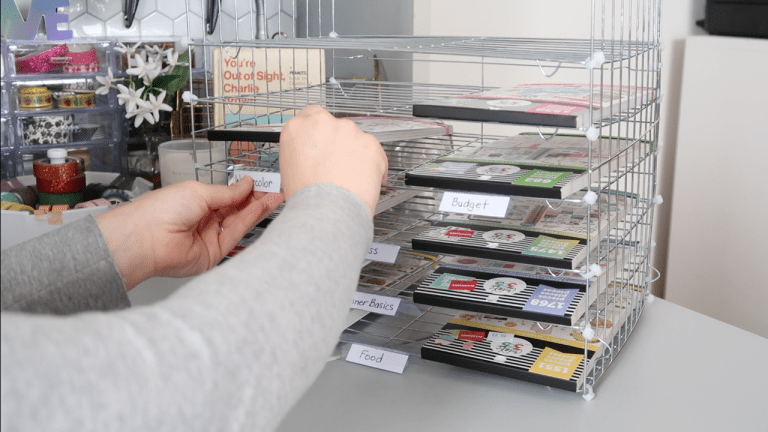
Once you have created the outside of the organizer, you can choose how to set up the shelves. At first I wanted to set my shelves up at an angle, but when I started assembling the piece, I didn’t like how they looked. I then decided to put the shelves in flat. I think that helped me be able to put more shelves in and I feel that the shelves were a little stronger that way as well!
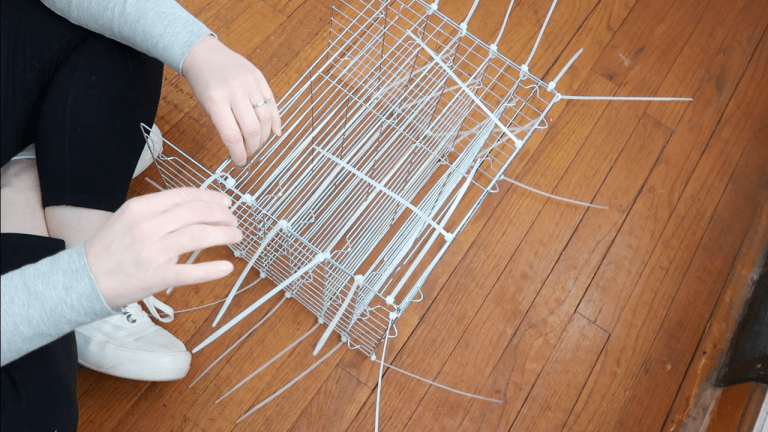
I then cut all of the excess zip ties off the piece. For awhile, it looked like a spider with all of the zip ties sticking off the sides!
Once I cut all of the excess zip ties off the piece, I then started labeling the stickers. I used the clear index labels from Dollar Tree and wrote the name of each sticker pack on them. I then took the clear label and folded it over creating a little name plate for each sticker book!
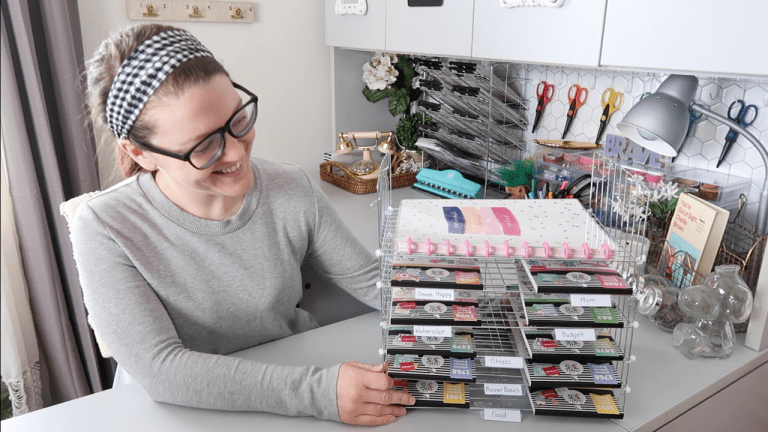
I am so happy with how this piece turned out! I had recently found a thrifted wire organizer at my local thrift store and had filled it with my original Happy Planner stickers. I decided to take the piece that I created and give it to my mom and sister FULL OF HAPPY PLANNER STICKERS! They were soo excited to have their own collection of Happy Planner Stickers!
I hope you give this project a try! If you do, please share a picture of your finished product with me on Facebook or Instagram! Check out the tutorial video that I made for this project below on my YouTube channel! Have a great day!
XOXO,
Kieren
