

***YOUTUBE VIDEO TUTORIAL BELOW***
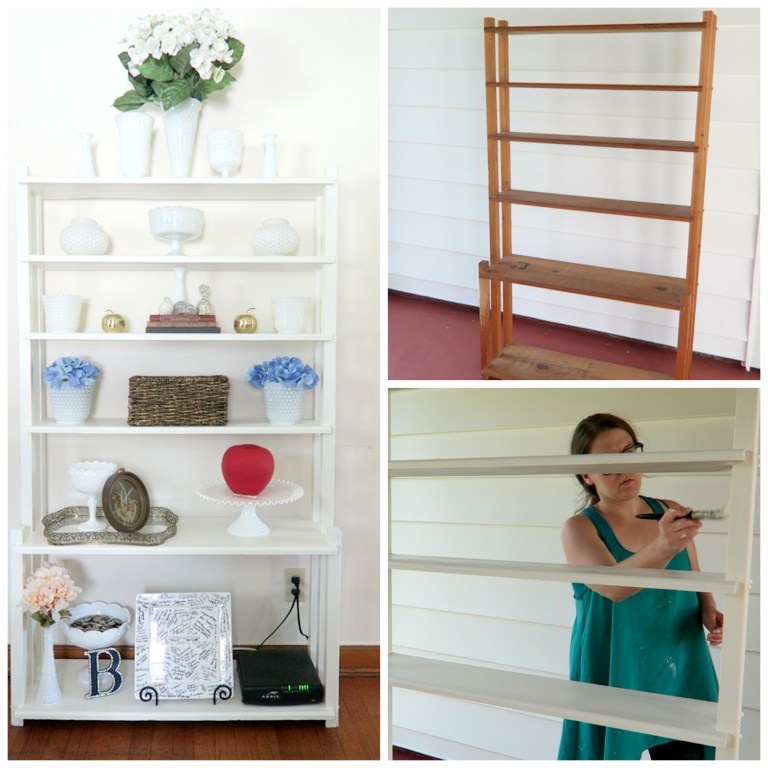
Shawn and I found this piece at a garage sale several years ago! The best thing was that it was at the end of the sale so we got it for free! I always knew that I wanted to restyle it and give it a new life, but I wasn’t quite sure what I wanted to do.
Finally after several years I was inspired! The process of working on our living room actually gave me the inspiration to finish this piece! My husband and I have been redecorating our home for quite some time and the living room is the first room that is coming together. Our living room is in very light shades of white and tan. I thought that making this shelf a bright creme color would really pull our space together!

When we got this piece it was pretty beaten up! I think it served a multitude of purposes in its previous life! It had grease stains, scratches, and an area that I think was a cat’s scratching post! I had to clean it up before I could paint it! It was easy, though. Just some good sandpaper, wood cleaner, and a rag and it was ready to go!
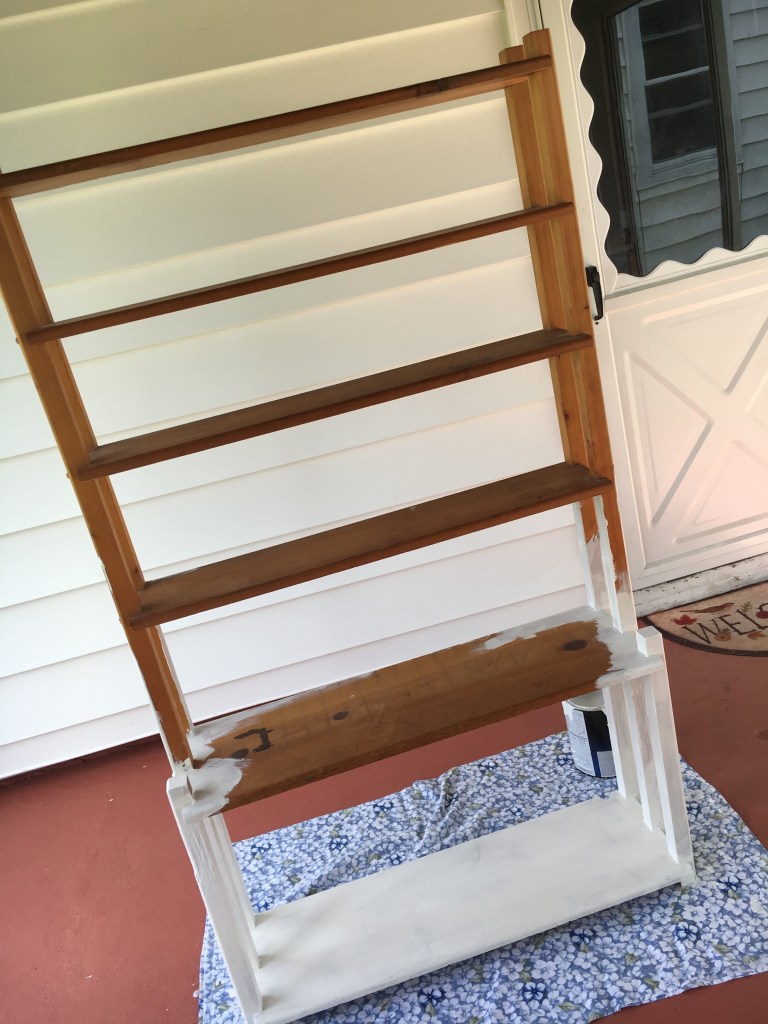
I decided to do a coat of primer first. I’m glad I did! Those knots in the wood required some extra paint to fully cover them!
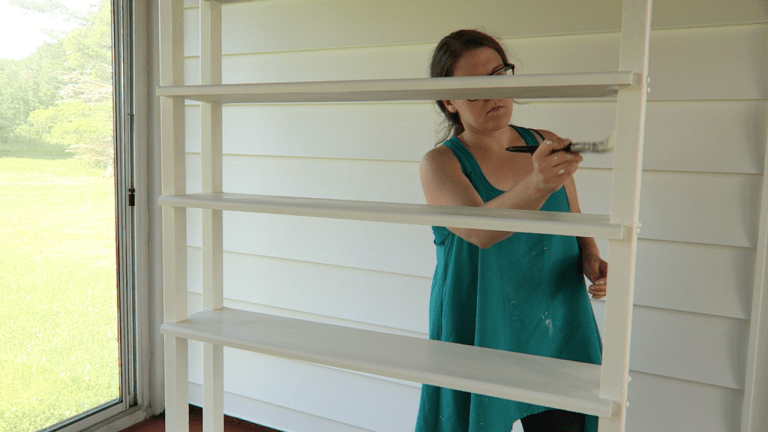
I thought this would be a quick project, however the application of the first coat of paint took over an hour! After I got the primer on, I let it dry then applied the paint!

I thought that I might have to apply two layers of paint, but the Valspar paint that I used was very thick and fully/ evenly covered the shelf!
Finally, I let the shelf dry for 24 hours and then I brought it inside!


My favorite part of this process was decorating! It was nice to see all of my hard work pay off! I have been collecting so many home decorations at garage sales and thrift stores and it was nice to finally have a place to display them all!
I hope you enjoyed seeing how this shelf went from being destined for the garbage to a treasure in our home!
Check out my YouTube video to see how I did it!
XOXO
Kieren
